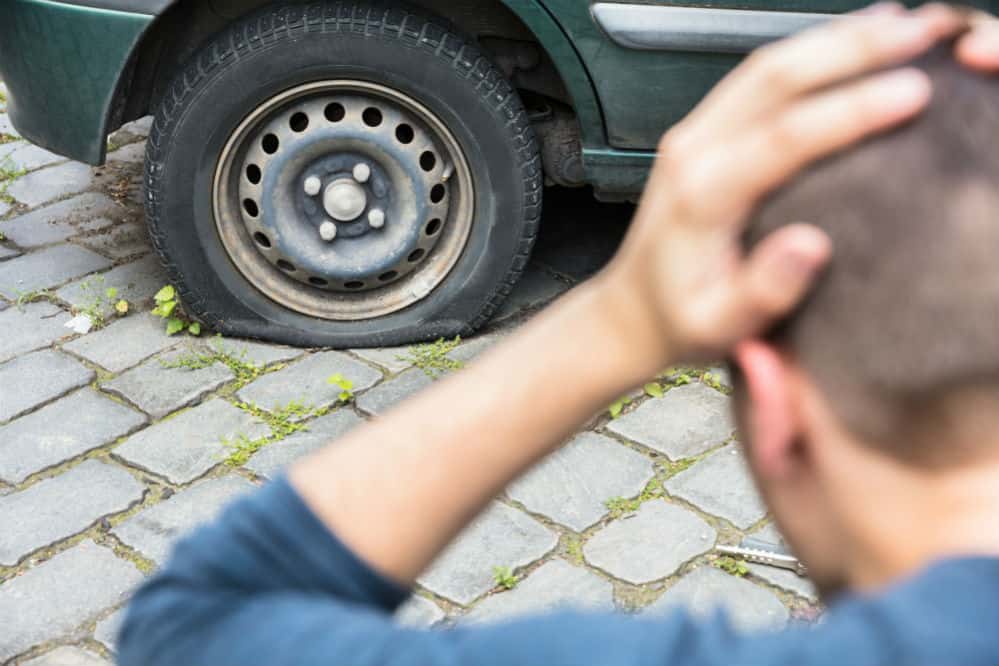
Let’s be real. We all have grabbed our car keys and made our way out on to the driveway to head out, and then noticed that a tire is completely deflated. This is quite a common occurrence. In most cases, the culprit is a nail or a small piece of sharp metal that has punctured the tire and released the air. That is why you always have to learn how to patch a car tire that is completely or partially deflated.
The good news is that patching a car tire isn’t rocket science. Yes, it does take some time. You must also have an understanding or knowledge of what is specifically wrong and a keen eye for finding the spot where the tire was punctured. Once you figured that out, the rest that follows is quite simple. Nonetheless, if are you unaware of what comes next, you do not have to worry because we will guide you through the process of patching your car tire like a pro.
How to Patch a Car Tire?
Remember that the size of the hole will determine whether you can patch it or not. If it is too big, then, you might need to replace your tire. Nevertheless, if it is just small, then, patching up will be your best solution. With that said, assuming you have all the necessary tools, let us talk about how to patch this.
Finding the Puncture
- To find the puncture, the things that you will need is a spray bottle filled with soapy water and a tire crayon.
- Start spraying the tire all over with the soapy water. Be sure to always focus on areas that are most likely to have a leak; this could be the tread section, the valve stem, and the bead.
- At some point when you are spraying the soapy water, it will get in touch with the hole, and you will notice that bubbles are forming around it.
- If there is something lodged in the tire, use a pair of pliers to pull it out of the tire.
- Locate this particular spot and mark the exact location using the tire crayon. You should also mark the location of the valve stem so that you can reinstall the tire properly.
Removing the Tire Properly from the Rim
The most basic tool you will need in order to get the tire out is a jack and a lug wrench. However, we highly recommend keeping a hydraulic floor jack with you as it provides you with an added stability. Having a jack stand and a torque wrench will prove to be a savior in times like those.
- To remove the tire, loosen the lug nuts with the help of the lug wrench, but do not remove them from the bolts.
- Once you are done loosening the lug nuts, fix the jack under the car appropriately. Do this only on even ground and place the car on gear (or neutral in manual geared cars). Keep your handbrake on as well to prevent the car from rolling.
- Once you are done jacking the car, remove the lug nuts and pull the tire out.
Patching the Tire
- In order to patch a tire, you must have a patch kit that contains all the essentials to do so. You can easily find this kit online.
- Use an air die grinder and select a pointy bit to roughen the side and clean the area so that you can fix the bond properly.
- Change the end to a stone bit to again roughen the sides and buff it, but this time, to widen the hole slightly bigger, which is about two inches in diameter.
- Use a can of compressed air and spray over the area to remove any debris. It is crucial that this part is absolutely clean.
- Use vulcanizing cement to the buffed part of the hole as this will prevent any water from entering it. Leave the cement to dry for a while.
- Now, take a patch and remove the plastic on the sticky side as this will be in contact with the tire.
- Push the pointy part of the patch from inside to outside and use a pair of pliers to grip it. Now, pull it out from the tread as this will also pull the sticky part very tightly on the inside of the tire.
- Roll a roller on the inside of the patch as it will get rid of all the bubbles between the sticky and the buffed surface and will also seal it properly on the tire.
- As an added safety measure, use a rubber patch sealant on the inside so that it covers the entire patch and makes sure that there are no leaks.
Testing the Patch
- Start by inflating your tire and keep a close eye to see whether there is any air escaping from it. You can either do so by feeling the tire entirely or by carefully listening to any hissing sounds.
- If you are still uncertain, spray the soapy water all over the tire to see whether any air bubbles are forming anywhere.
Reinstalling the Tire
- After you are completely certain that you have fixed the puncture on the tire, it is time to fix the tire back on the wheel rim.
- Begin by reattaching the tire on to the wheel rim and place the lug nuts back to its spots.
- Tighten them just about enough so that they will stay in place. However, do not tighten them completely just yet.
- Now, start lowering the car back to the ground and then remove the jack. After the car is stable, you can now start tightening the lug nuts in a star pattern or an X pattern. That is if you have a four-bolt tire model. Also, make sure that you are following the torque requirements mentioned in your user manual.
A patch job if done correctly will be able to hold the air in your tire indefinitely until another puncture arises on the tire. However, if you have patched your tire more than three to five times, then it is time you will need to replace your tire.
Conclusion
Patching your punctured car tire definitely requires a bit of effort and time. Nonetheless, we are certain that our simple guide on how to patch a car tire will help you a lot in times of crisis.