 When you invest in a car you love, it can be pretty disheartening to notice excessive scratches on your car’s surface.
Scratch repair and prevention is actually easier than you think. There is no need to go to expensive mechanics or dealership repair centers to get rid of those pesky blemishes when you can do the job effectively yourself.
We put together a guide to scratch repair that will have your baby looking good as new. Check it out!
The Ultimate Guide To Scratch Repair For Your Vehicle
These tips are just too easy not to try for yourself.
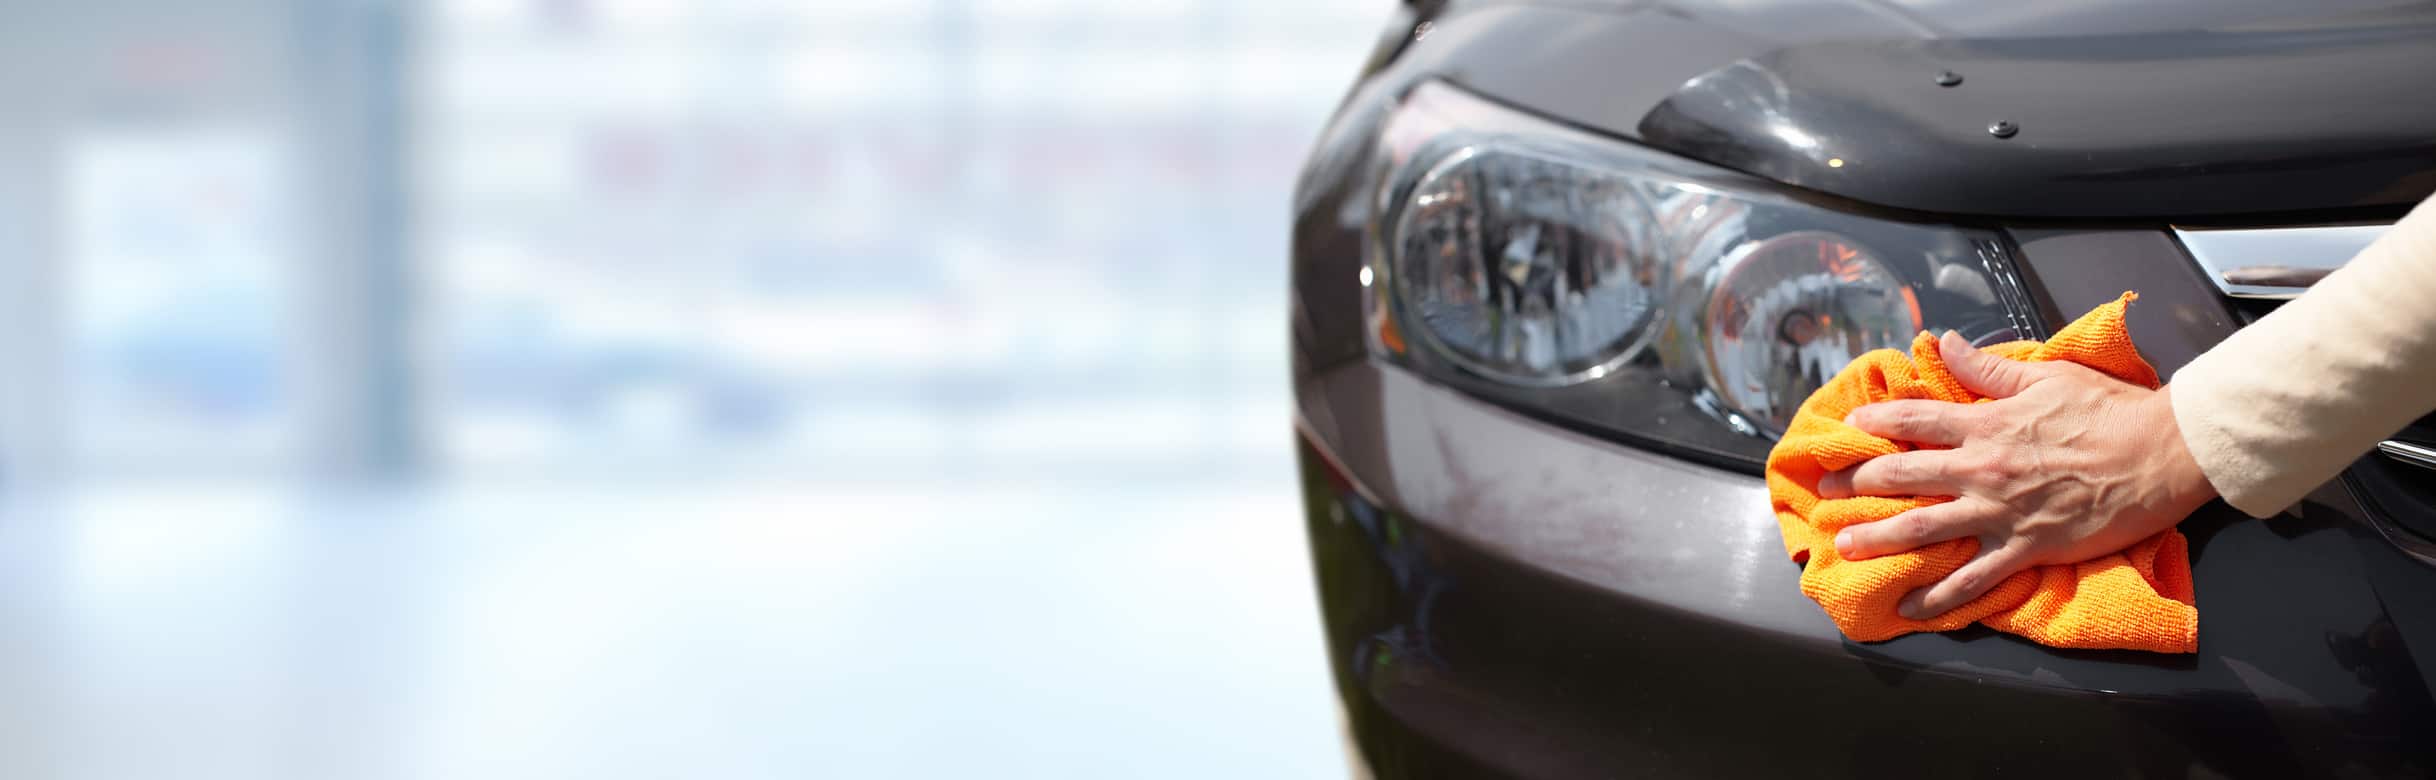
Invest In High-Quality Tools For Scratch Removal
Even when investing in the best tools for scratch repair, you will still probably be spending significantly less money than you would if you had taken your vehicle in for an expensive paint job.
Just as well, buying these products and tools once will ensure that you can continue repairing scratches that appear on your vehicle for a few years. That’s saving money, honey!
Start With Polishing And Waxing
Sometimes, scratches are so light that you can polish or wax the surface of your car to remove them.
If a nice polishing and wax job does not completely remove the visibility of the scratch, but you can’t feel the scratch anymore, then a liquid scratch remover should be able to take care of it.
It is important to remember that all scratches are different. Whatever material caused the scratch (a shopping cart, another car, a key) will remain in fragments in the scratch.
If it feels like the material stuck in the scratch is softer than the material that composes your car, consider using a tar spray remover. These removers also work to remove gooey adhesives and organic matter that may get stuck in the scratch crevice.
Make sure to find a product that is designed for vehicles or paint. Some tar removers contain acetone, a solvent that can damage paint.
This is a usually effective method for removing scratches that are very light. A deeper scratch will require a bit more elbow grease.
Use Buffing Tools
For more intense scratches, whip out those car scratch removal products and tools we mentioned earlier.
The idea is to rub out the scratch with abrasion and then replace the delicate color coating and top clear coating evenly. Removing a medium-depth scratch with tools is as simple as three easy steps:
Clean the scratched surface with solvent, then apply a small bit of color to the scratch, overlapping a bit. (Yes, you will have to find out your car’s color type and purchase the appropriate automotive paint.)
Let the paint “cure” overnight. With a wet sponge against wet 1000-grit sandpaper, rub the area until any bumpy paint is gone. Do this slowly and stop frequently to check on the status of the bump
Buff a car compound into the area to replace the glossy coat using gentle circular motions.
Simple, right? Be mindful not to wax your car for about thirty days or so to let the solvents do their job.
Sometimes, you’ll accidentally sand through too far. This is just a common risk of repairing a vehicle scratch on your own!
If you have accidentally scrubbed a bit too far, the clear coating is significantly damaged. Repair the clear coating by using a clear coat spray designed specifically for cars.
The Fingernail Test
If a buffing or polishing product doesn’t get the scratches out effectively, there’s a chance your scratch is deeper than you think.
Run your fingernail against the scratch in question. If your nail doesn’t snag, that means the scratch can be taken care of with a more aggressive approach on your part. If your nail does snag inside the scratch, the damage may be fairly deep.
Should this be the case, you may have to invest in a professional’s services to take care of the damage.
Step-By-Step Scratch Washing Guide
Here’s an alternative guide to removing scratches from your car’s surface at home.
When you wash the scratched area with soap, be sure to spritz water on the vehicle as well as the grit pad you’ll be using to scrub it.
A grit pad for buffing may feel very soft, but looks can be deceiving. Always rub a scratched car surface gently without too much pressure until you see a small amount of foam. Typically, you’ll only need to rub for about ten to fifteen seconds.
The clear coating on cars is very thin, so scrubbing too hard could cause more damage.
Wipe off the foam with a damp rag or paper towel to see if the scratch is gone.
If the scratch is gone, congratulations! However, you’ll notice the clear coating has dulled a little bit. To fix this issue, follow these steps:
- Attach a high-quality buffing wheel to a typical hardware drill.
- Rub a high-quality buffing compound around the pad evenly.
- Using very gentle pressure to squish the pad against the surface, run the drill at a slow and steady speed.
- Overlap the area that is dull with the area that isn’t dulled to get an even spot-free coverage.
- Do this until the compound material starts drying, then gently reduce pressure before removing the pad from the surface.
- Clean off residue that remains with a clean and dry towel.
- Using a different pad or a clean rinsed and dried pad, put some remover onto the pad. Like the previous compound, be sure to apply it evenly.
- Using a very gentle speed, polish the dry area and overlap as you did with the first compound.
- Buff the area with a second completely clean microfiber towel until the finish shines and matches the rest of your car.
- Take the time to look around the area from different angles where light may catch it to ensure it doesn’t need more buffing.
- Finish with a wax, and you’re done!
Start Rubbing Out Those Scratches!
Was our guide to scratch repair for your vehicle helpful? Tell us about your own favorite tips and tricks for scratch repair in the comments below!