It’s important to know how to remove oil filters and replace car parts in general. Whether it’s for an emergency swap or to save a lot of money on car maintenance services, these basics will do drivers a world of good. The tools required for this task are minimal and should be part of any car owner’s toolbox.
With that said, first, let’s start by talking about how to determine whether or not the oil filter needs to be removed and replaced, then, we will deal with how to remove oil filters.
When to Remove the Oil Filter
The car owner’s manual is a valuable tool for all drivers. It presents the owner with a lot of vital information regarding the vehicle. For instance, when it comes to oil filters, it specifies the type of oil required to fill the tank, the viscosity and how often should one change it.
Based on these guidelines, drivers are encouraged to swap the oil filter as often as they perform an oil change. With that in mind, new vehicle owners can ignore this rule and perform a filter change once every 7,500 miles, because the newer systems are very efficient at filtering out debris. These numbers vary a lot from case to case, so it’s impossible to determine a universal answer.
How to Remove Oil Filters and Add Oil
Replacing the oil and oil filter is a walk in the park. There are some small investments that one could make to facilitate the whole process, such as proper tools. For a successful oil change, the driver will need:
- A floor jack with jack stands or a couple of ramps
- A socket wrench and an optional breaker bar
- Vehicle-compatible oil and filter
- Oil catch pan
- Protective latex gloves
- Paper towels to keep things clean
-
First Step: Get the Right Oil and Filter
Get the owner’s manual and check what type of oil is compatible with the vehicle model. This should include volume, type, and viscosity. For example, a right oil might be something like “Full Synthetic 10W-30, 4 ¼ quarts”. A similar code can be found on filter brands, so just make sure to pick a quality one within budget.
-
Second Step: Elevate the Vehicle
The vehicle must be jacked up to grant the driver access to the oil drain plug. To elevate the car, either use a floor jack with jack stands. Now, to use a floor jack and stands, the driver must turn again to the owner’s manual.
This will provide useful information on where the best spots for setting a floor jack are. After the vehicle has been lifted to the desired height, the jack stands should be installed somewhere on the frame, where they won’t damage the car’s floor.
Note: If the driver opts for this type of elevation method, he or she should always make sure that the car has a stopper set behind the back wheels to avoid accidents.
Using ramps is simpler. Just set the ramps to their corresponding wheels and make sure that they’re parallel. Then, drive the car until it reaches the outer limit.
Ramps give more room and freedom of movement since they can safely raise the car higher. They’re obviously an investment, but they can come in handy in other scenarios as well.
Note: Before getting under the vehicle, make sure that the car has rested for at least 30 minutes. The oil and oil tank tend to reach very high temperatures when driving, so it’s important to avoid any sort of hazard.
-
Third Step: Find the Oil Drain and Oil Filter
The oil drain is somewhere under the car. It’s typically on a black tank and is represented by a bolt. The bolt must be removed to allow the old oil to leak out. A socket wrench is perfect for this task.
Note that sometimes, the bolt can become very hard to unscrew, so a breaker bar with the correct attachment will give the driver more leverage to loosen it.
After it’s loose, unscrew it using the wrench but make sure you have placed an oil collection pan below the tank before doing so. Let it drip for a good 10 minutes until nothing but drops come out.
Clean the drops with some paper towels and screw the bolt back in. Before screwing the drain plug back in, make sure to change the gasket that’s fitted on the drain plug with a brand new one. Make sure not to tighten the plug too hard, as it might damage the threading and cause leaks in the future.
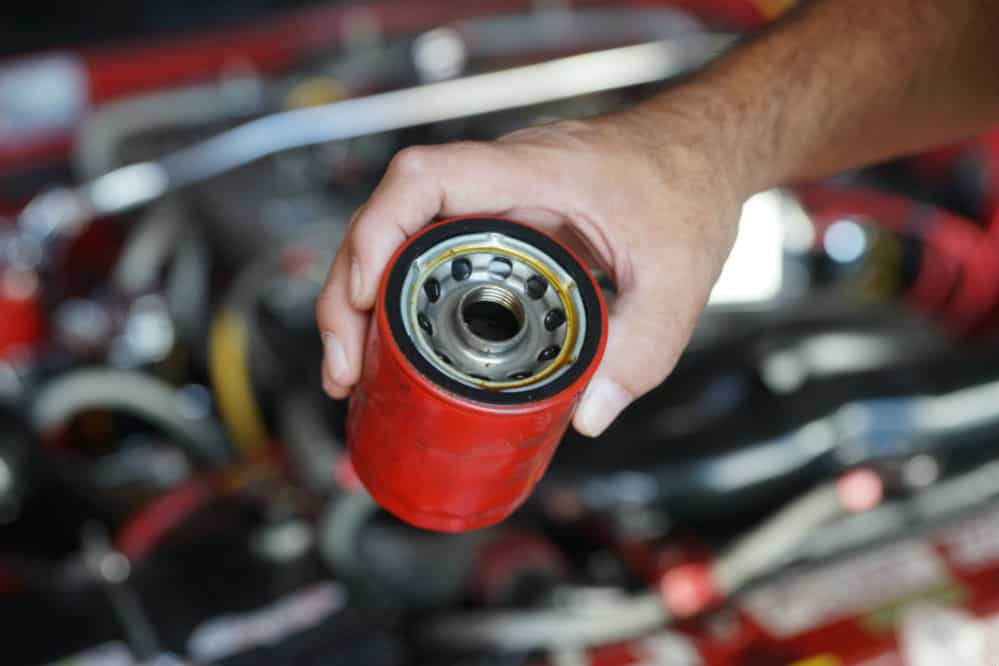
The oil filter can either be under the hood or around the oil pan. After determining where the filter is by either checking the manual or localizing it through inspection, the driver can then unscrew it.
This can simply be done by hand or with the help of a special filter wrench. Make sure to pick up an adjustable wrench as filters tend to vary quite a bit in size.
Remove the old filter under the oil collecting pan since it will leak a lot of oil. If the filter is placed under the vehicle, a good idea would be to fill it before threading it in. This will prevent the engine from drying up when fired up.
-
Final Step: Adding Oil
Check for the engine’s oil cap. It’s signaled with an oil sign, so it’s pretty easy to locate it. Before refilling the engine, use some cleaning materials to get rid of any gunk that’s built up in the cap area.
Afterward, take a funnel and place it in the orifice, then start pouring the required amount. Factor in the oil added to the filter prior to this and adjust to the new volume.
Final Thoughts
Removing the oil filter is a pretty easy operation that anyone could do. By doing this, drivers can save money on overpriced car services and also make sure that both the oil and the filter are of high quality. Some services cheap out on these parts, shortening the lifespan of the engine in the process.